Recently I came across a very useful article about working with masks in Photoshop, which covers not only the basic techniques, but also more advanced methods. I was hooked by how clearly the article explains layer masks, clipping and vector masks, as well as how to interact with them using common tools like a brush and gradient.
I decided to put all this into practice — from simple experiments to creating real collages and texture overlays. And I must admit: some things were rediscovered for me.
1. The basics: layer masks are my favorite
The first thing I tested was layer masks, as the most universal tool. The article explained that they allow you to hide or show parts of an image without deleting pixels. Everything turned out to be intuitive: black — hides, white — shows, gray — makes it translucent.
📌 My experience:
I made a portrait in black and white, then carefully returned the color only to the eyes using a layer mask. It looked precise and neat, without any extra effort.
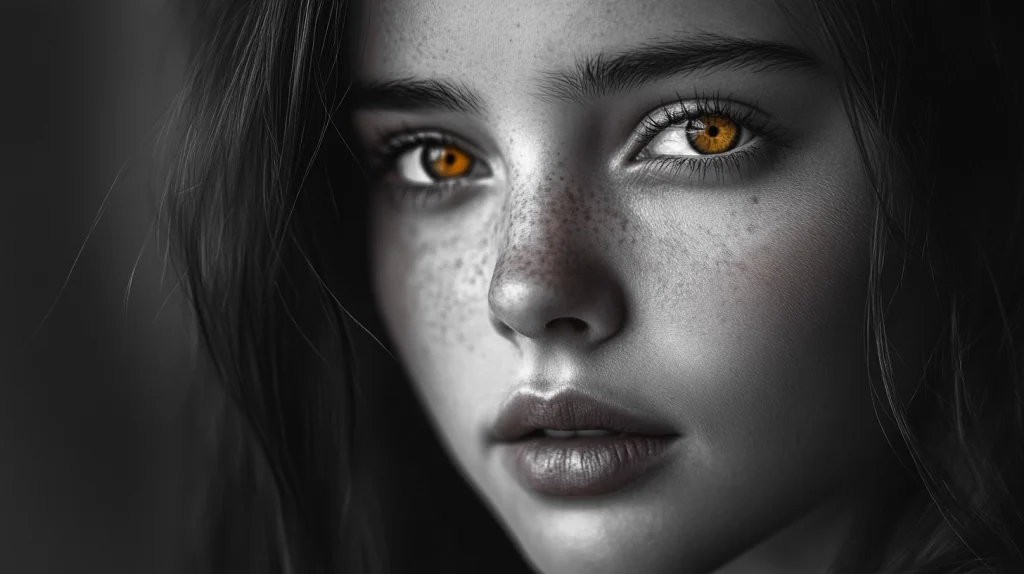
A layer mask is a simple but powerful tool for local edits.
2. Clipping mask – works clearly
Following the advice from the article, I tried clipping masks, especially for overlaying textures on objects. This is very convenient if you work with text or shapes and want the image to be “embedded” inside them.
📌 My test:
I took the text “DESIGN”, applied a marble texture to it using a clipping mask – the result looked as if the inscription was carved in stone.

Simple, effective and works on the fly.
3. Vector masks – a little more complicated, but accurate
Vector masks turned out to be a little less intuitive, especially in comparison with regular ones. But they are perfect for creating clear shapes and resolution-independent masks.
📌 My test:
I created a circle mask to isolate an object on a white background. Everything looked clear, the edges were not pixelated at all.
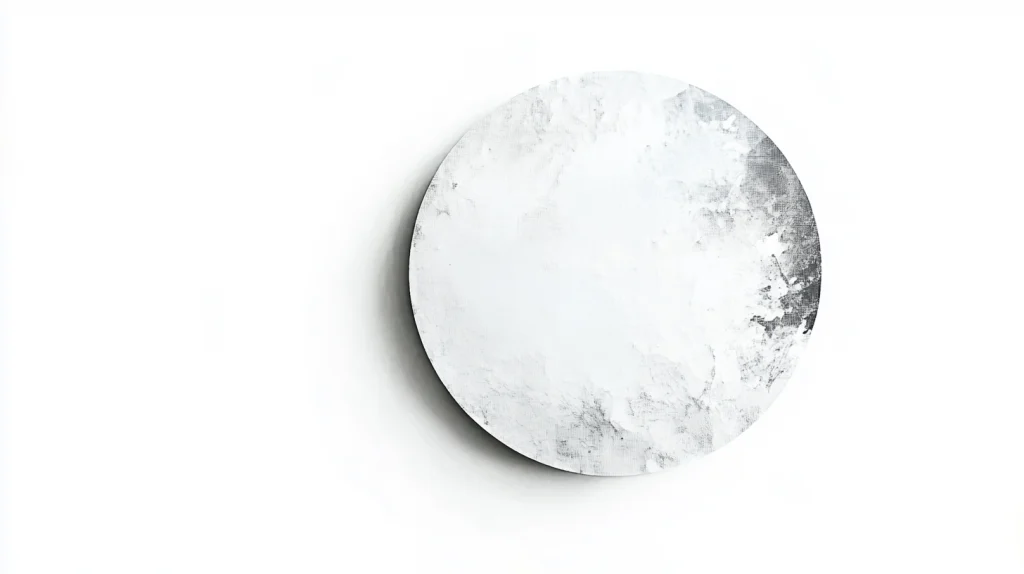
A great tool for tasks where precision and scalability are needed.
4. Combining masks and textures – an experiment that was worth the time
One of the most interesting sections of the article is advanced techniques, which show how to combine masks, apply textures and work with complex compositions.
📌 My experience:
I created a collage from three different photos, overlaid a paper texture and used masks to adjust how exactly the texture affects each layer. The result is atmospheric, with a slight “vintage” effect.
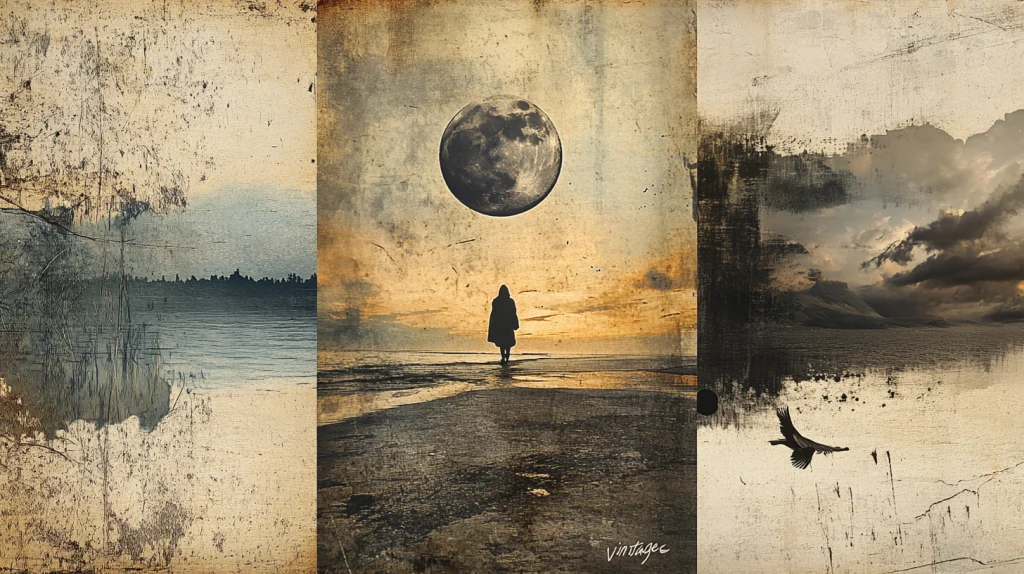
If you want to experiment creatively, these methods will open a new level of working with Photoshop.
After reading this article about masks in Photoshop, I received not just theory, but a real practical push. I immediately implemented some techniques into my workflow, and they really speed up the routine, while others inspired creative tasks.
If you haven’t tried masks yet or used them minimally, be sure to read the original material. Or better yet, open Photoshop and start testing right now. I guarantee: it will be interesting.
Leave a Reply